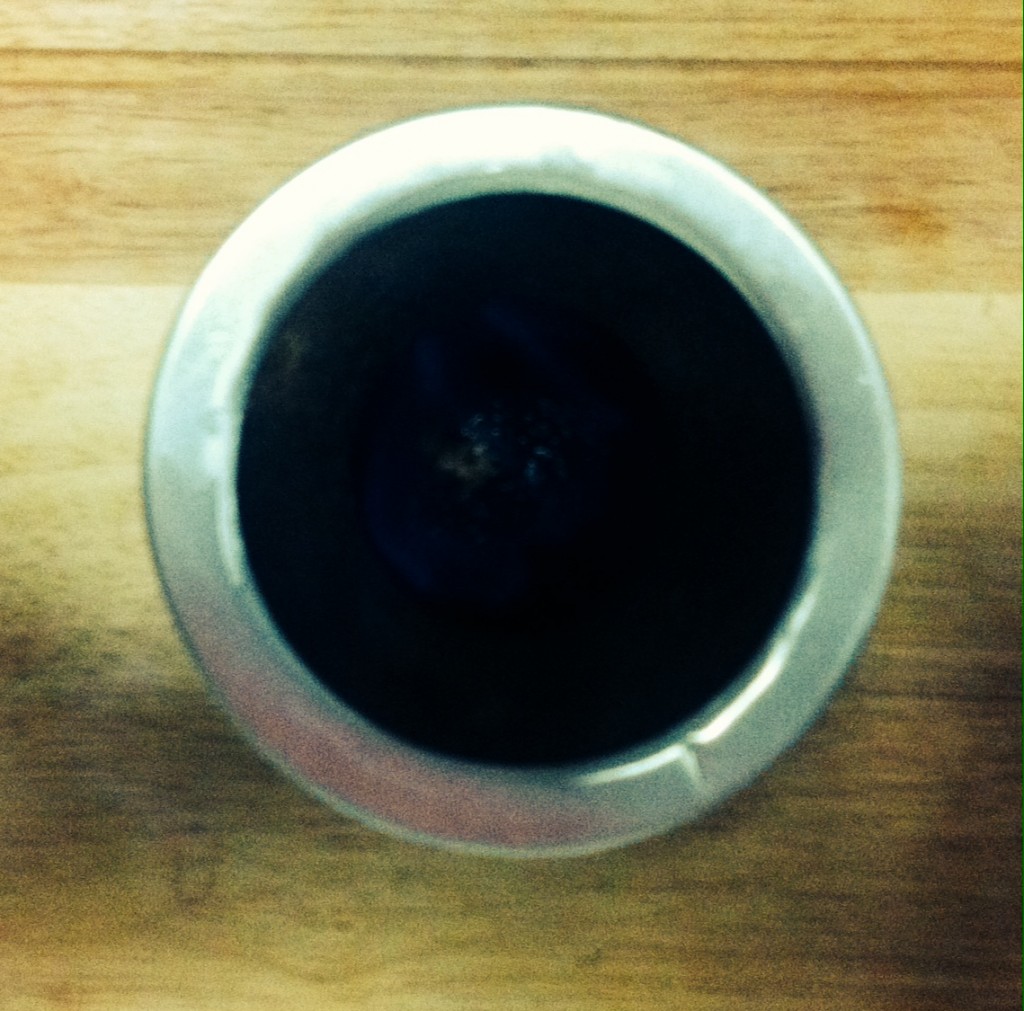
There is nothing worst than wanting to drink out of that fancy gourd that you bought on your last trip to Argentina and suddenly finding out that it now has it’s own eco-system living inside it. This situation kind of reminds me of the movie Men In Black, when Will Smith opens a locker and just to find that it houses an entire population of miniature aliens! Don’t fear… the yucky stuff growing inside your gourd is very much terrestrial, but it can still be harmful to your health if it comes in contact with your drink.
In this post, I will show you my fire-proof method to zap the mold away from your gourd, while sterilizing it at the same time. If you follow these steps correctly, you should be able to bring back any gourd from the dead within a short time. Please do be careful, since this method requires use of flammable fluids in order to work.
Bill of Materials
- A molded gourd (obvious)
- A hard brush
- Coconut soap
- Liquid alcohol
- Matches
- Hot water
Recommendations
- Pick a sunny day to do this
- Keep children away
Step 1: Soaking
Boil some water and fill your molded gourd with it. Let it soak for about 10 minutes or so, then spill the water out.
Step 2: Cleansing
The second step is to literally brush the hell out of the gourd. For this, you will need one of those kitchen brushes used to clean the inside of long glasses. You can get a cheap one at IKEA or in any $1,99 store. Spread some soap around the inside of your gourd and scrub as hard as you can, until you notice that the mold is out.
If necessary, do this 2 or 3 times to make sure that you really go everything out. You can rinse the soap out each time in order to check the results more clearly.
I know some will curse me for scrubbing soap inside a gourd, but this is an emergency situation. I usually use coconut soap, because it is cheap, naturally antibacterial and leaves little odor after. If you want to use your normal kitchen detergent, go ahead. Just don’t complain later if your mate tastes like your sink.
Step 3: Flaming
Most other “Mold in Yerba Mate Gourd” tutorials would stop in step 2 and then tell you to leave your gourd to dry. The problem with this is that while your gourd might feel and look clean, there might still be fungus spores hidden in microscopic grooves on the interior surface of the gourd. These spores are like seeds, which will thrive as soon as conditions are right. So to add an extra layer of safety, we will cleanse with fire.
Get some kind of “safe” and drinkable household flammable fluid, such as ethyl alcohol (don’t use kerosene, diesel, gasoline or jet fuel 🙂 ) and soak the inner surface of your gourd with it. Place the alcohol bottle in a safe distance, light a match and throw it inside your gourd.
At this point you gourd will burn with a blue flame until all the fuel has been consumed by the fire. Just watch and wait until the fire goes out.
Step 4: Let it mellow
Now find a dry and preferably sunny place to leave your gourd drying in a tilted position. Let it dry well and if possible position it as to let the sun shine on the inner surface of the gourd. That’s it!
Last Observations
My troubles with molded gourds usually happen in one of the two situations:
- After curing the gourd
- After using the same gourd for several days
To avoid mold in your gourd, be sure to always store it in a dry location. I recommend having two or more gourds to rotate the usage. If you just got a new gourd and want to cure it, read my tutorial on how to cure a yerba mate gourd and after the curing process I recommend drying in sunlight.
I have had a better experience using wooden mates rather than gourds. Wooden “gourds” seems to cure well and be more resistant to mold. I Hope this helps you out.
Clark
How would you recommend getting rid of mould in a wooden gourd?
Celso Luiz F. Fernandes
You might want to try the following if the procedure described above did not work for you:
-Fill your mate almost complety with water.
– Add in a bit of vinager and a spoon of baking soda.
– Let it rest overnight.
– On the next day empty your mate and scrape the residue gently with a spoon.
– Let your mate dry completely for about 2 days in a dry and ventilated place. If possible, under the sun.
Hope it helps
Jonathan Weinberg
I have a bottle gourd that grows mold on the outside if I have water in it for a few days. Does mold grow on the inside as well? Also, I like the flavor of the gourd and its ability like wooden cups to prevent water from going stale (tastes like bacteria) which I guess might be similar to the process of penicillin mold being antibacterial (though I’m allergic to penicillin). If I burn the inside of the gourd will that affect the taste and the freshness of the water? Also I noticed a small crack in the gourd (though the mold doesn’t always appear at the crack first) so I’m worried of breaking it. Maybe it’s too small to be waterproof.