Keeping your mate and bombilla in top shape is just as important as the yerba itself; it ensures that you get the most out of your yerba experience, saves you tons of money and keeps you healthy as well. If not properly cared for, mates and bombillas can accumulate mold and other harmful substances over time. Showing a little love for your yerba mate gear is not only the hygienic thing to do, but will also extend their lifetime considerably.
In previous posts, I have already proposed a few ways to keep your gourd from molding and what to do if it does mold. I this post, we will put the gourd aside for just a sec and concentrate on our bombillas. Now, if you just landed here and have no idea what a “bombilla” actually is, please checkout my old post on Bombillas.
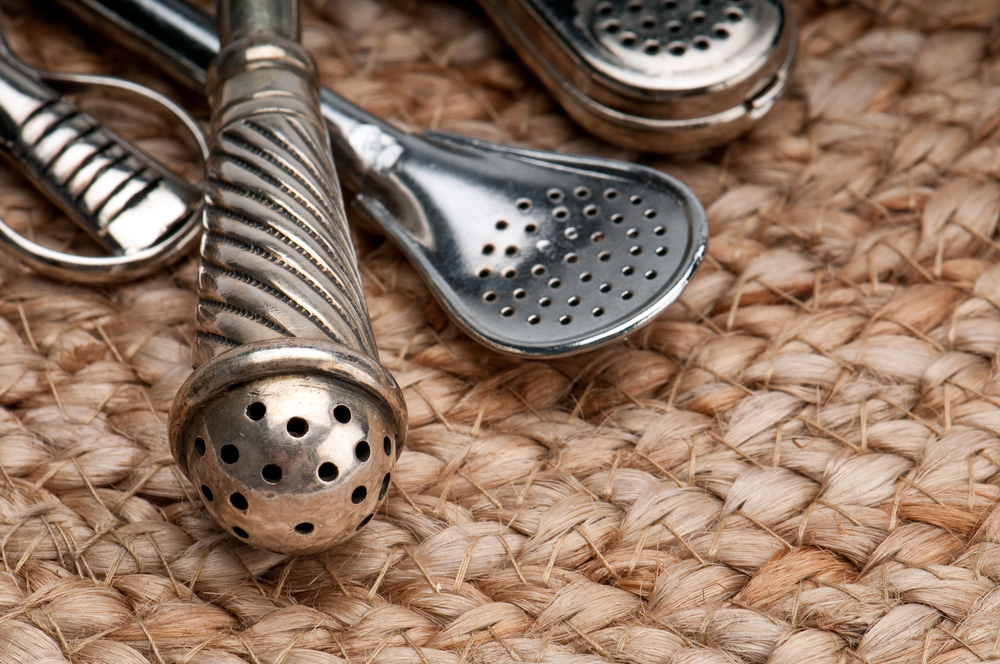
If you are like me, then you probably have several bombillas laying around in your kitchen. At the time of this writing, I am actually the proud owner of no less than 12 busted-up bombillas! Why? Easy… When one of them starts to lose its sparkle, I just switch to the “next victim” and that is the end of that! After a couple of years of carrying out this lazy behaviour, I was left with a collection of yellowish, opaque, antique-style “bombis” and a lot of cleaning up to do! Enough pep-talk…let’s do it!
How Does a Bombilla Accumulate “Dirt” ?
Bombillas get clogged up, due to the accumulation of yerba, sugar and other ingredients. With time, these ingredients build up and harden around the filter orifices of the bombilla. This gradual build up results in smaller orifices and eventually clogging.
How Often Should I Clean My Bombillas?
This depends heavily on how often you use your bombilla. If the bombilla is used several times a day, then it should be cleansed once a week. Notice, however, that in this case, only steps 1 -3 will be required. Regularly cleansed bombillas, don’t need the same intensive care that a busted-up bombilla does. So, if you make a habit of keeping things clean, boiling your bombilla for 15 minutes every week should be more than enough to keep them shining.
Bill of Materials
- A busted-up bombilla
- A medium-sized pan
- Tap water
- Baking soda
- Flannel (optional)
- Thin brush (optional)
Step 1: Preparation
Prepare to boil the heck out of your bombilla. Fill your medium-sized pan with tap water. The more bombillas you want to clean at the same time, the more water you will need. Also, the amount of water depends on how dirty your bombillas actually are. As reference, I usually boil for about 45 minutes in medium fire, so I make sure that I have enough water for that. After you fill the pan with water, add 3-5 spoons of baking soda and place your bombilla(s) at the bottom of the pan.
Step 2: Boil
Now fire up the stove and let the water boil for around 45 minutes. You might notice how the water becomes darker with time. If you are an absolute careless pig :-P, then your water will get very dark and I definitely recommend a second run!
Step 3: Let’em Rest
After the boiling process, carefully pour out the water and give you bombillas a rinse. Place them on a towel to dry. This takes care of the basic bombilla care, but you might want to follow the optional steps below.
Step 4: Outer Body Care (Optional)
Let your bombillas shine even more by using a bit more of baking soda and a flannel to scrub the outer parts. Concentrate a bit more around any curves and filter orifices of the bombilla. Rinse thoroughly and let try.
Step 5: Inner Body Care (Optional)
If you would like to make sure that your bombilla is clean in the inside as well, then I recommend buying a thin and long brush at your local hardware store. Use the brush to clean the “neck” of the bombilla, using either plain water or a mix of water and baking soda. After cleaning, let the water run from the filter to the mouthpiece until all the sediments are washed out.
Well..this is it for this tutorial. Make sure you keep your bombillas shinning and happy drinking!
Ana Goldseker
Just love this! Thank you!